To change the admin username without deleting and creating any new user in WordPress, you need to follow the steps given below:
Topics Covered
Step1: Login to the CPanel:-
Login to the the CPanel of your hosting account.

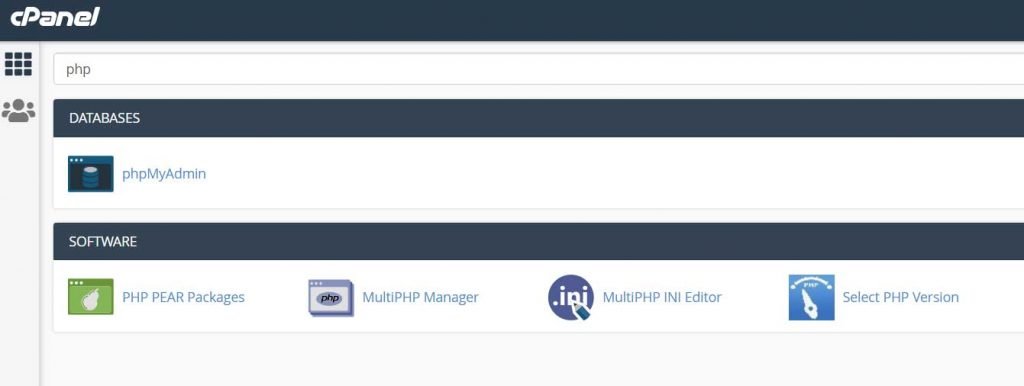
Step2: Search for phpmyadmin:-
In the Search option, search for phpmyadmin.

Step3: Look for Users Table:-
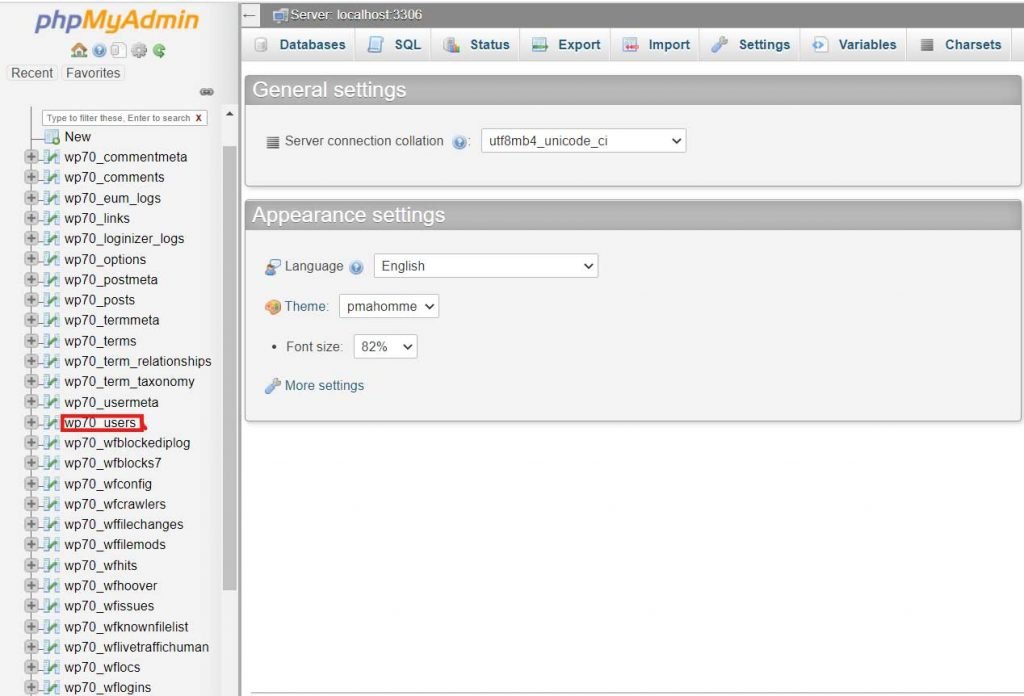
Once you are in phpmyadmin, you will be shown a database, you would need to expand it to see all the database table. Look for the users table in the database.

Step4: Click on Edit:-
Once you click on the users table, you will be shown a list of users. Select the user you wish to change the username for by clicking edit.

Step5: Change the username:-
Now all you need to do is change the username to the desired value and press on go to save the changes. Remember you can also change the password of the user here. You just have to chnage the value to the desired e.g. I will replace the complex value shown in the below image in password to “thisismypassword”.
In the Functions column of the password i will select MD5 and then press go.

Voila, you have changed the username for your WordPress website, you can go back and check it in the dashboard of your WordPress.
Hope so you found this article helpful. If you face any issues or are in need of some advice, please feel free to comment below. I will revert back asap, also you can directly contact me on Facebook, Instagram, or Twitter.
Some Related Topics You Might Find Useful:
- How to change the PHP version for your Hosting Server?
- How to Add Your WordPress website to Google?
- Why to install Yoast SEO for your WordPress website?
- How to Add WordPress Website to Google via Domain?
- How to Create and Add a Sitemap in WordPress website and Add to Google?


