Well, I think so you must know the importance of putting your website on Google since you are here. So, I will get started.
Topics Covered
Pre-requisites
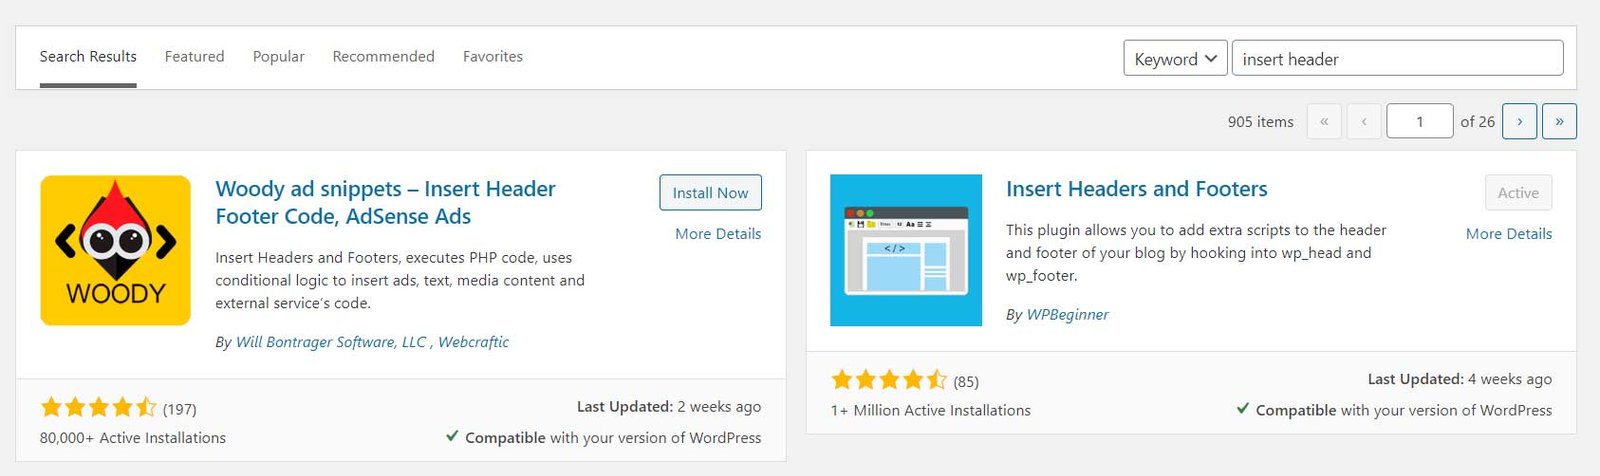
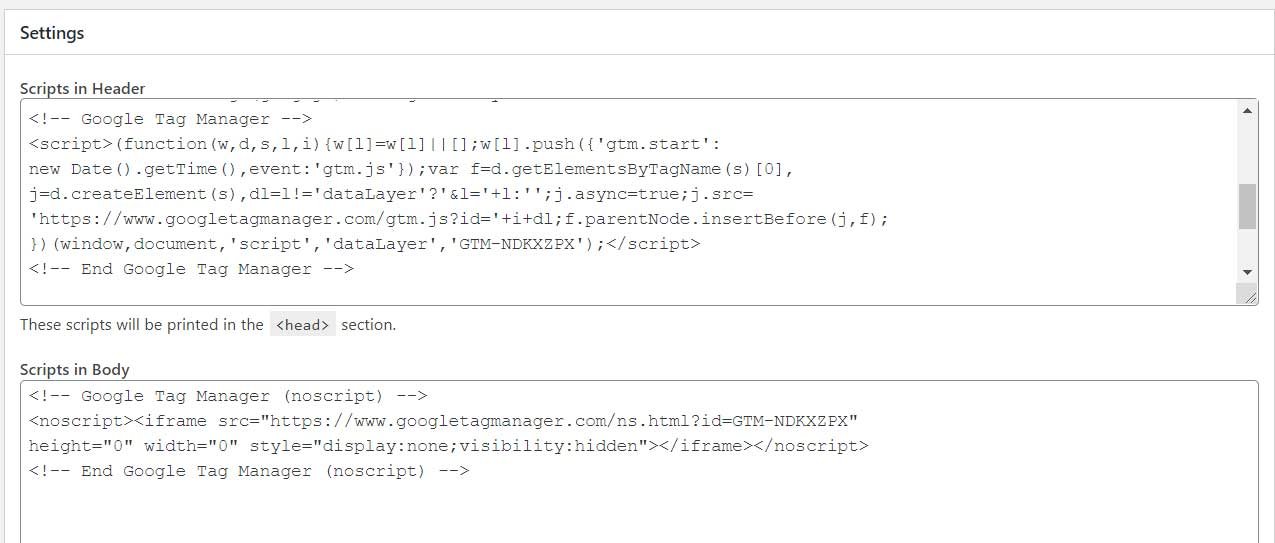
- Install a Code Snippet Plugin:- I assume you must have installed a code snippet plugin that will allow you to insert code in the header and body of the website. I will be using the Headers & Footers Plugin.
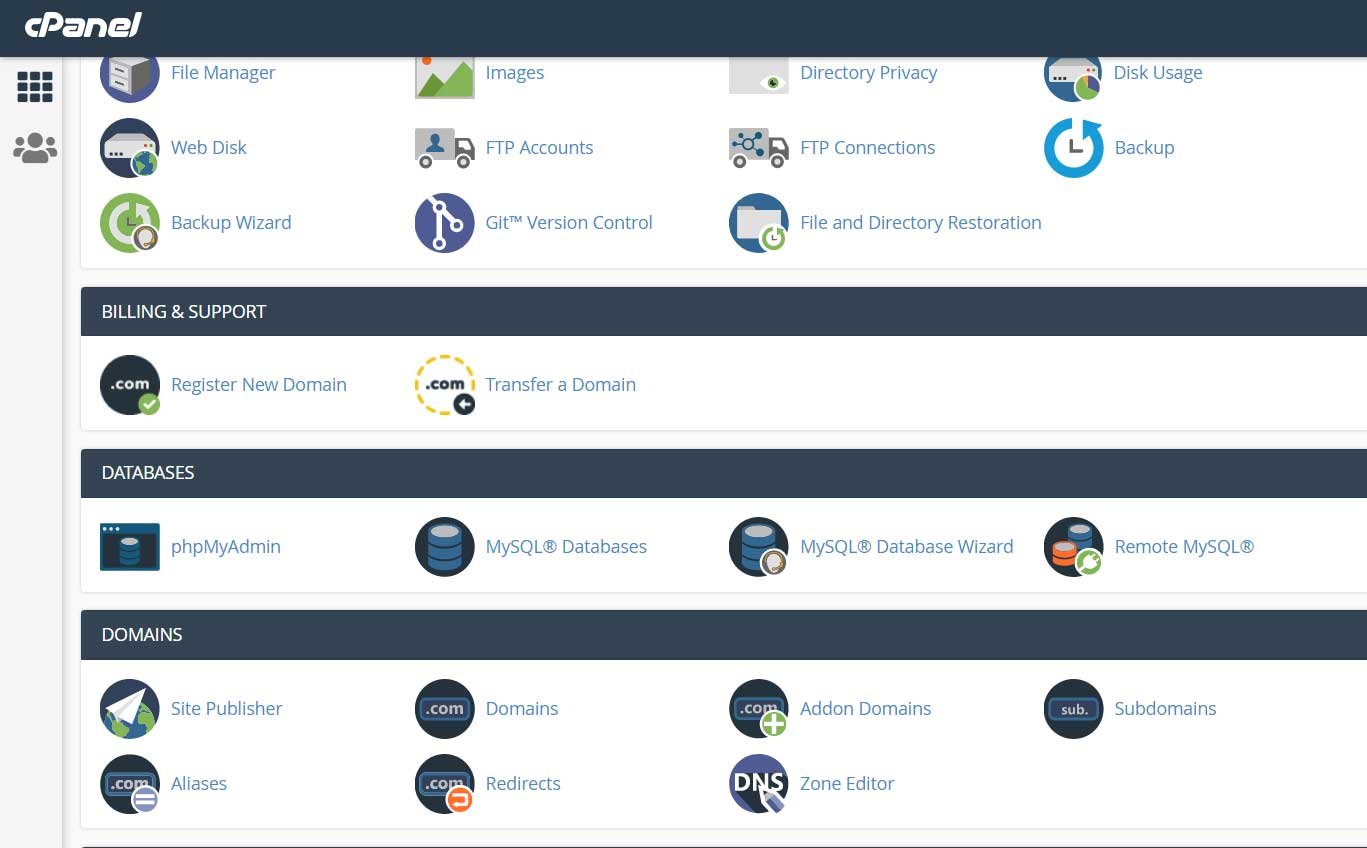
- Access to Your CPanel:- You should have the login access to your CPanel of the hosting services you have purchased.
- Analytics & Tag Manager Account:- You should have a Google Analytics and Tag Manager Account setup. It is very simple to sign up for both if in case you already have a Gmail id.
- Note:- There are other ways to verify your website with Google, you don’t necessarily need a Google Analytics or Tag Manager Account. It is only required if you wish to obtain some real-time data about the visitors on your website along with verifying your website with Google.
So, there are 2 ways to verify the website as I have already mentioned in the blog How to Add Your WordPress website to Google? So you can go from the Yoast Plugin, which would lead you to the Webmaster Central or through searching Search Console which will lead you to Google’s Search Console portal. No matter whichever way you decide you will be provided with the same options on how to verify your website.

Webmaster Central in Yoast Plugin
Options
On the left is the image(below) of webmaster central which is shown if you click on Google Search Console from the Yoast plugin as shown in the above image. On the right is the image(below) of directly searching google’s portal. I have already provided a tutorial on how to verify your website via Domain as it has a different procedure. But URL prefix ( image on the right below) and webmaster central (image on the left below) have almost the same options.
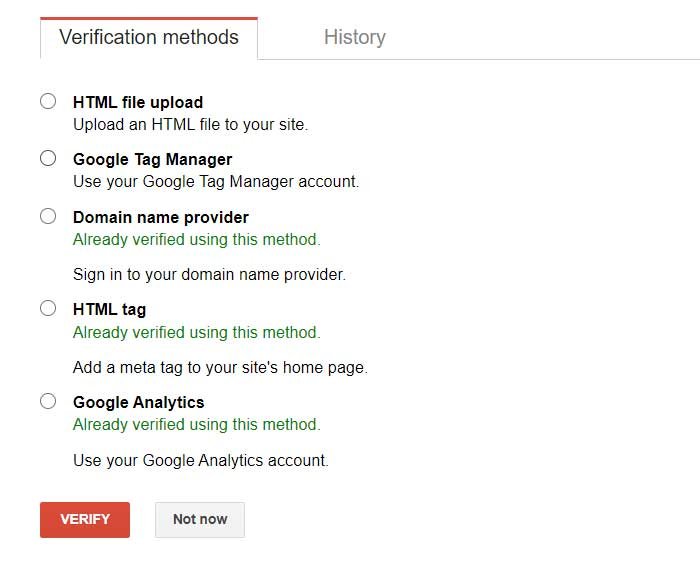
Webmaster Central Options 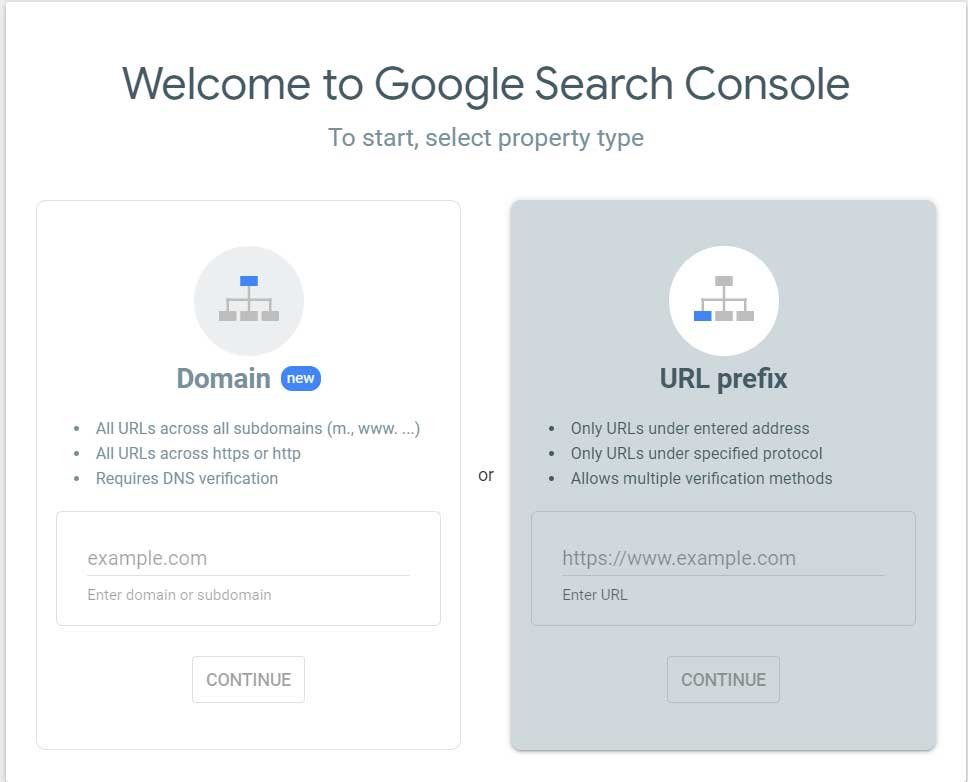
URL Prefix
Options that show once you click on the URL prefix:
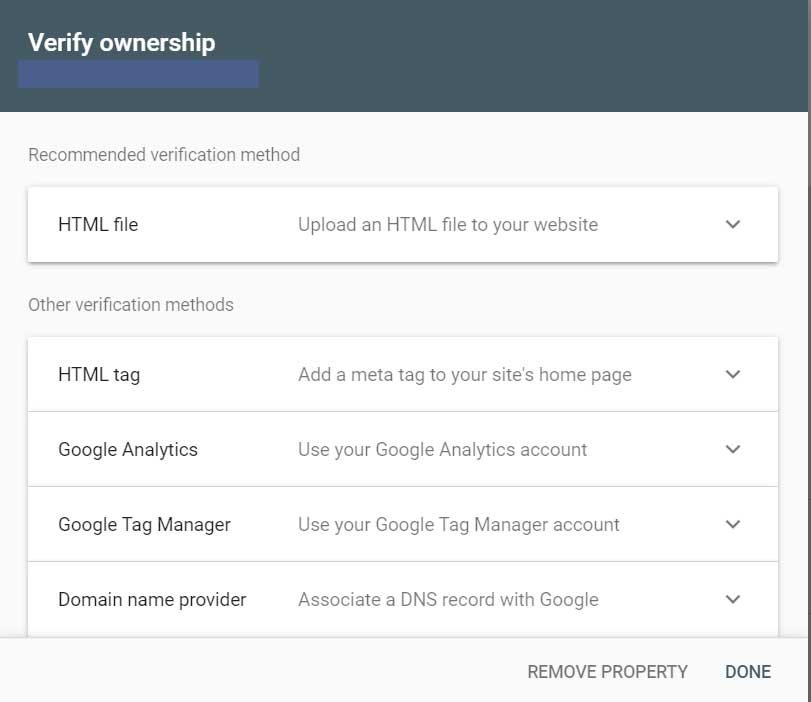
How to Verify?
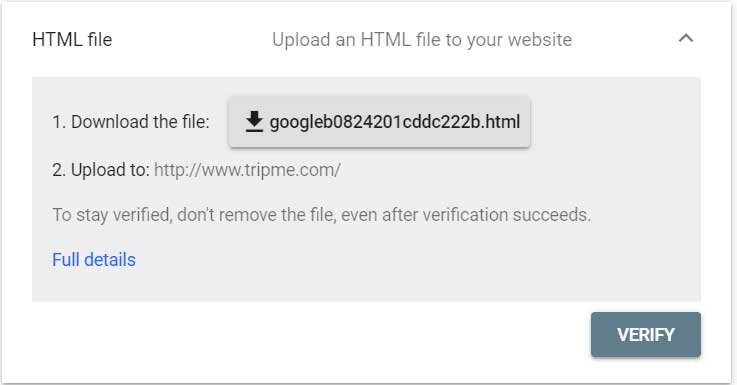
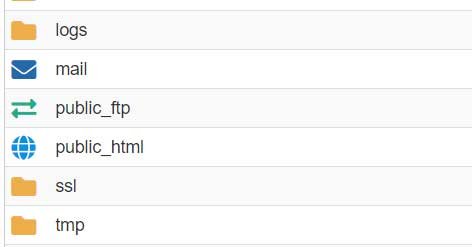
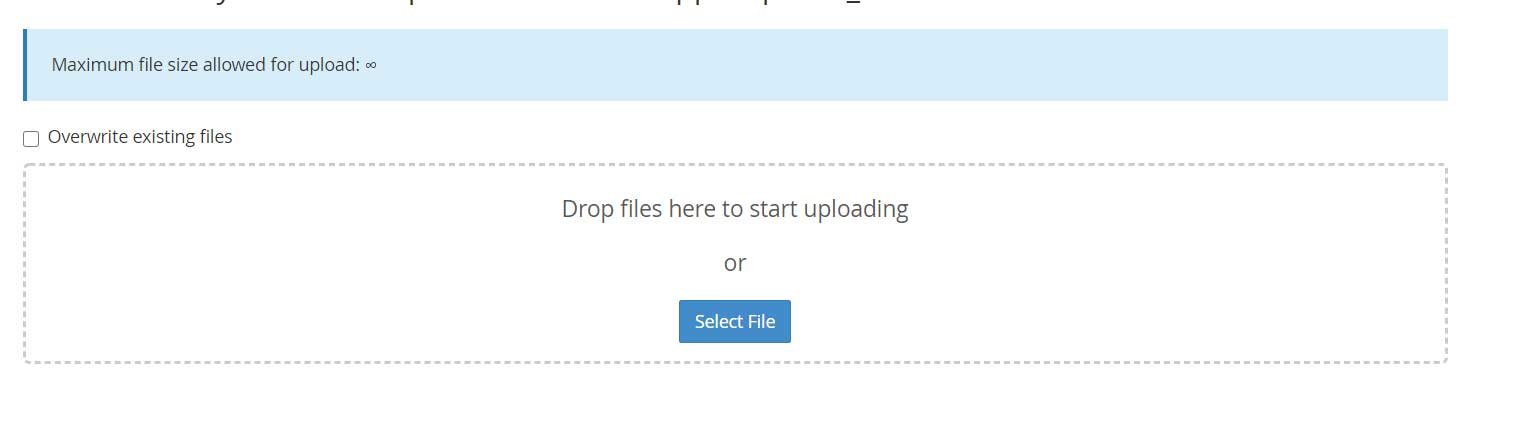
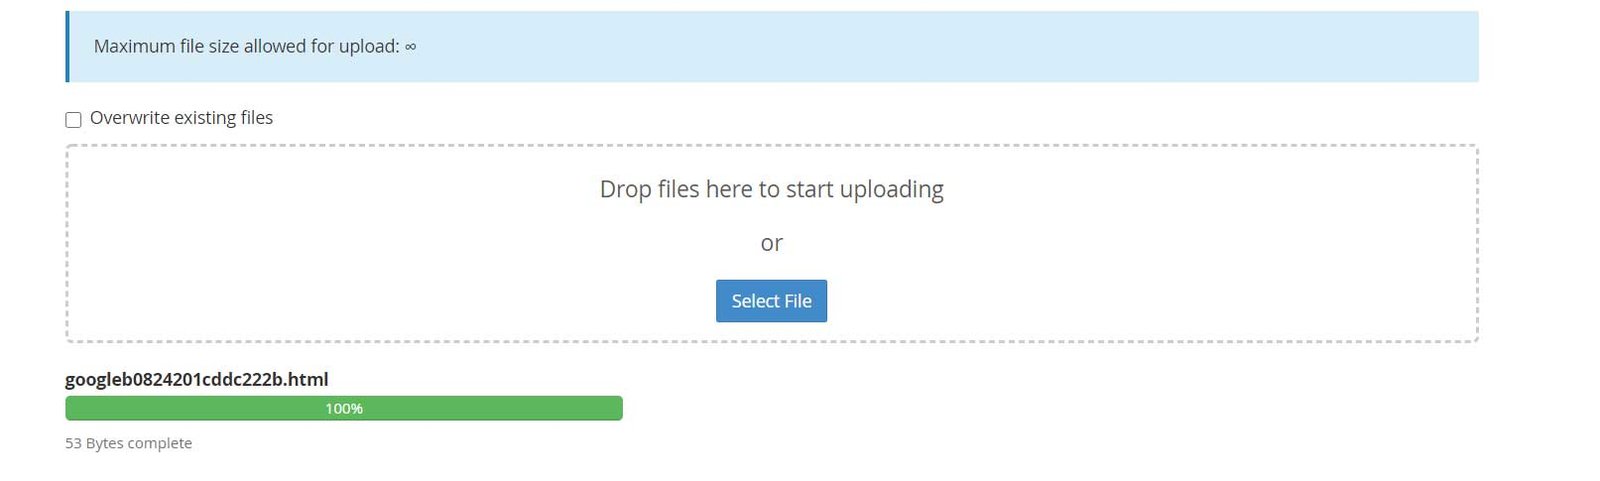
Html File
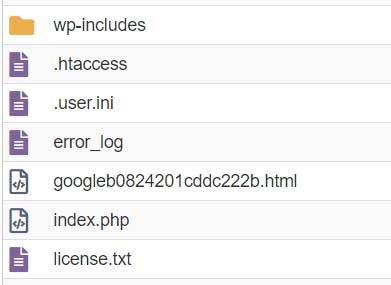
You would require to download the file and upload it on the server. Hence you will need the access to the Cpanel.
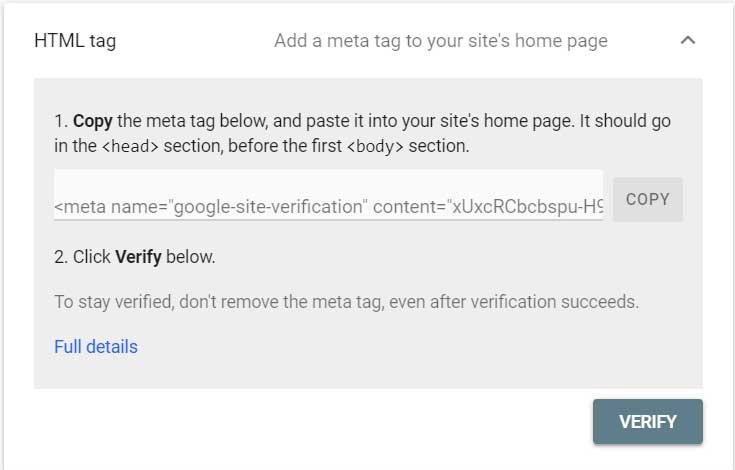
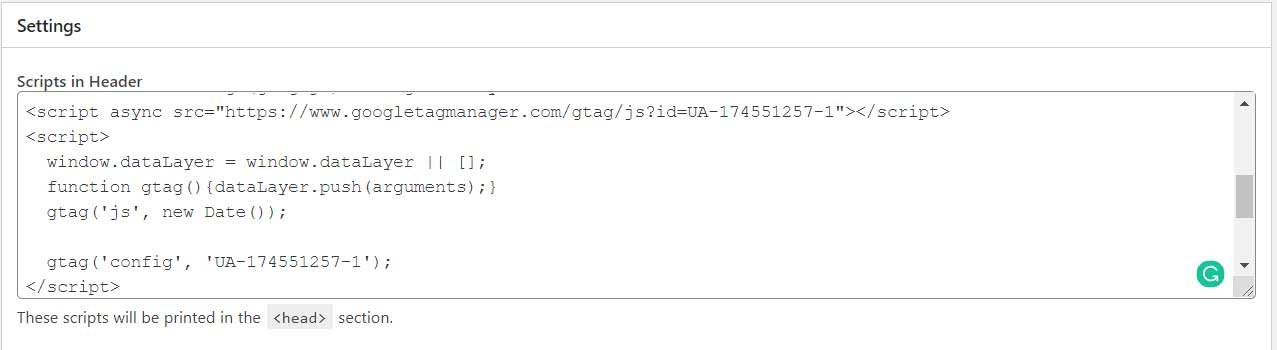
Html Tag
This is the easiest option out of all the available ways. You just have to copy paste a code in the header of the website.

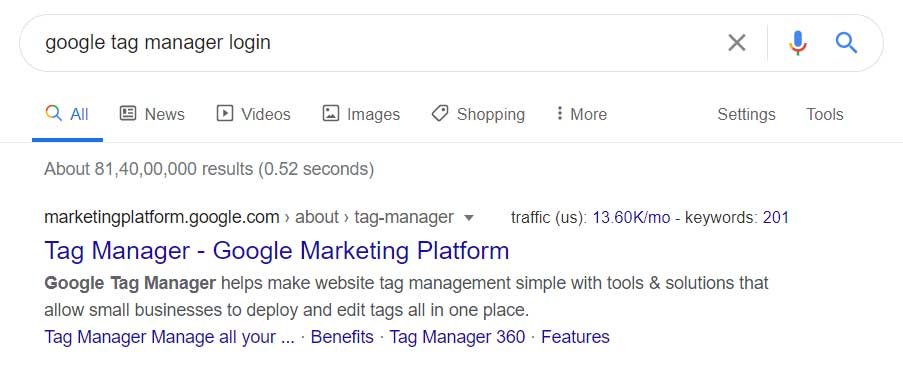
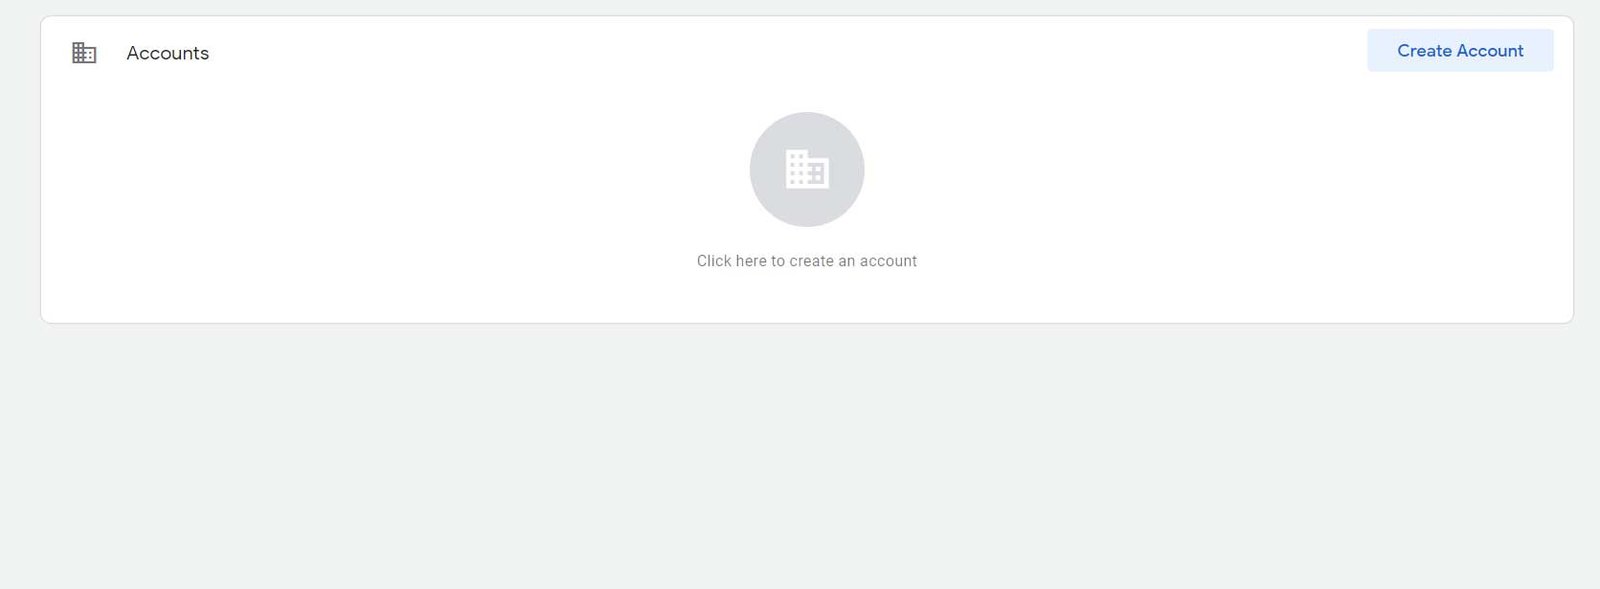
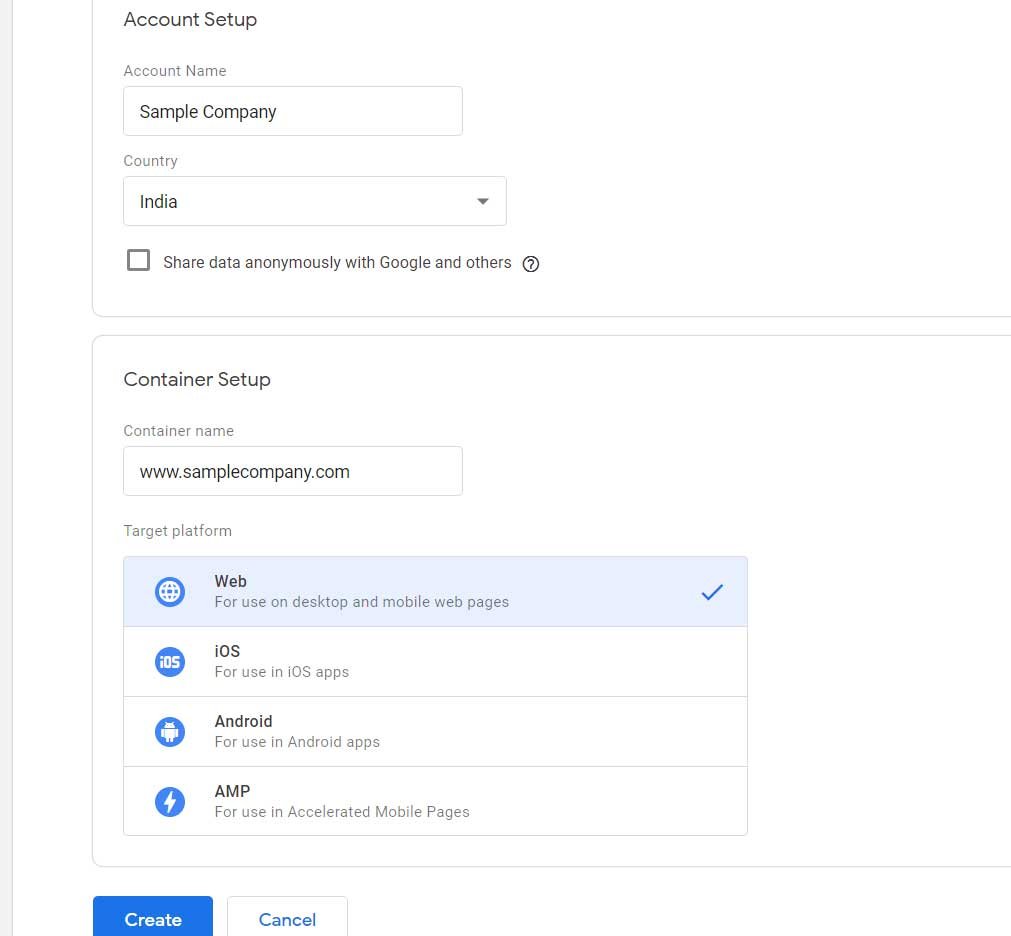
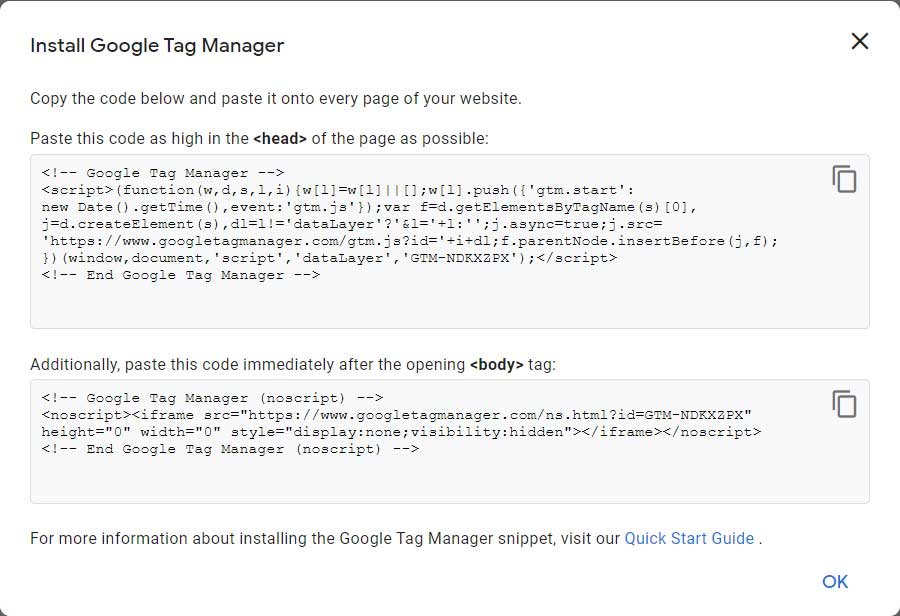
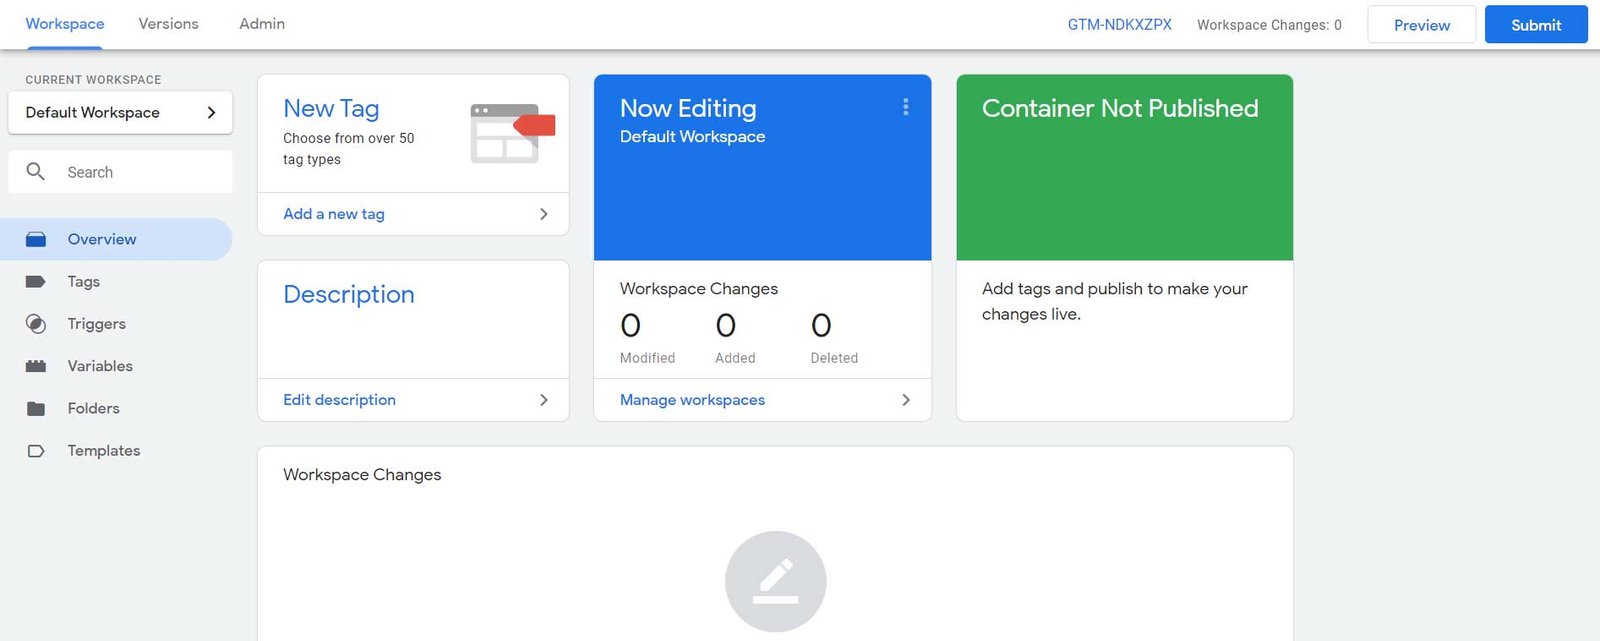
Google Tag Manager
You would require to create a Google Tag manager account. It is not a difficult task, you just need to follow a few simple steps providing basic information about you and your website. This option is a very good one as this will allow you to track events on your website if you choose to at a later stage. Here I have just provided the steps to verify your website using tag manager.
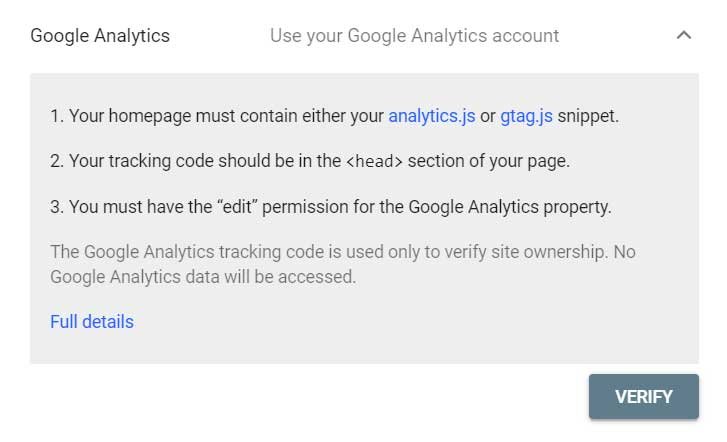
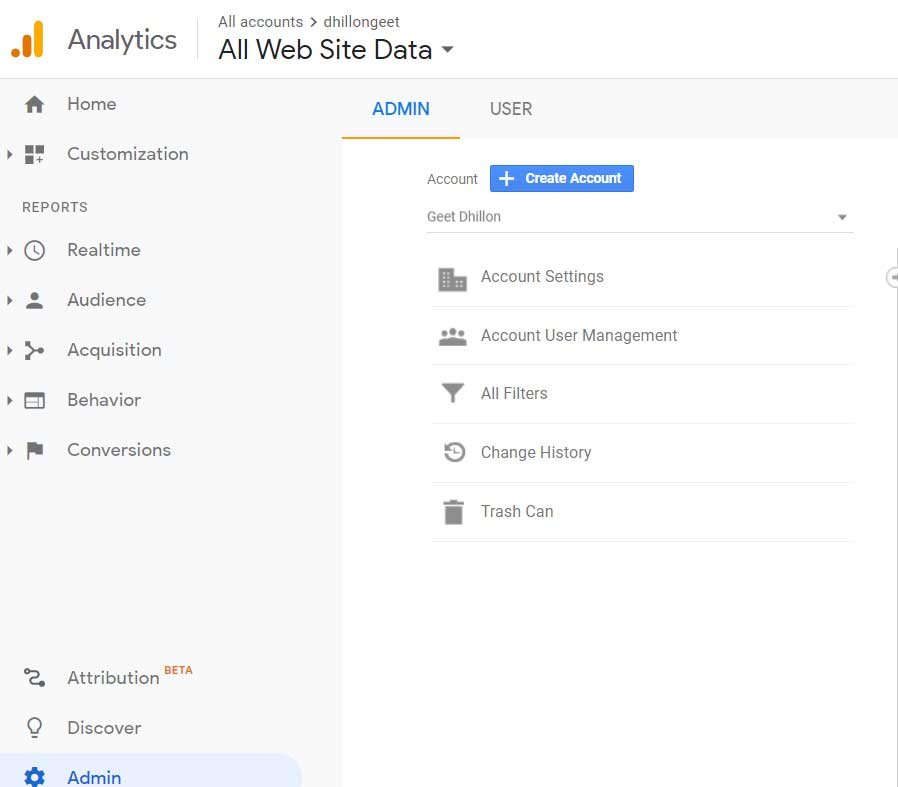
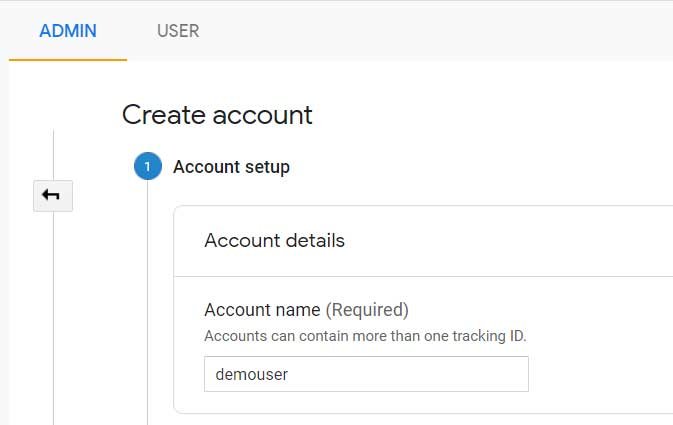
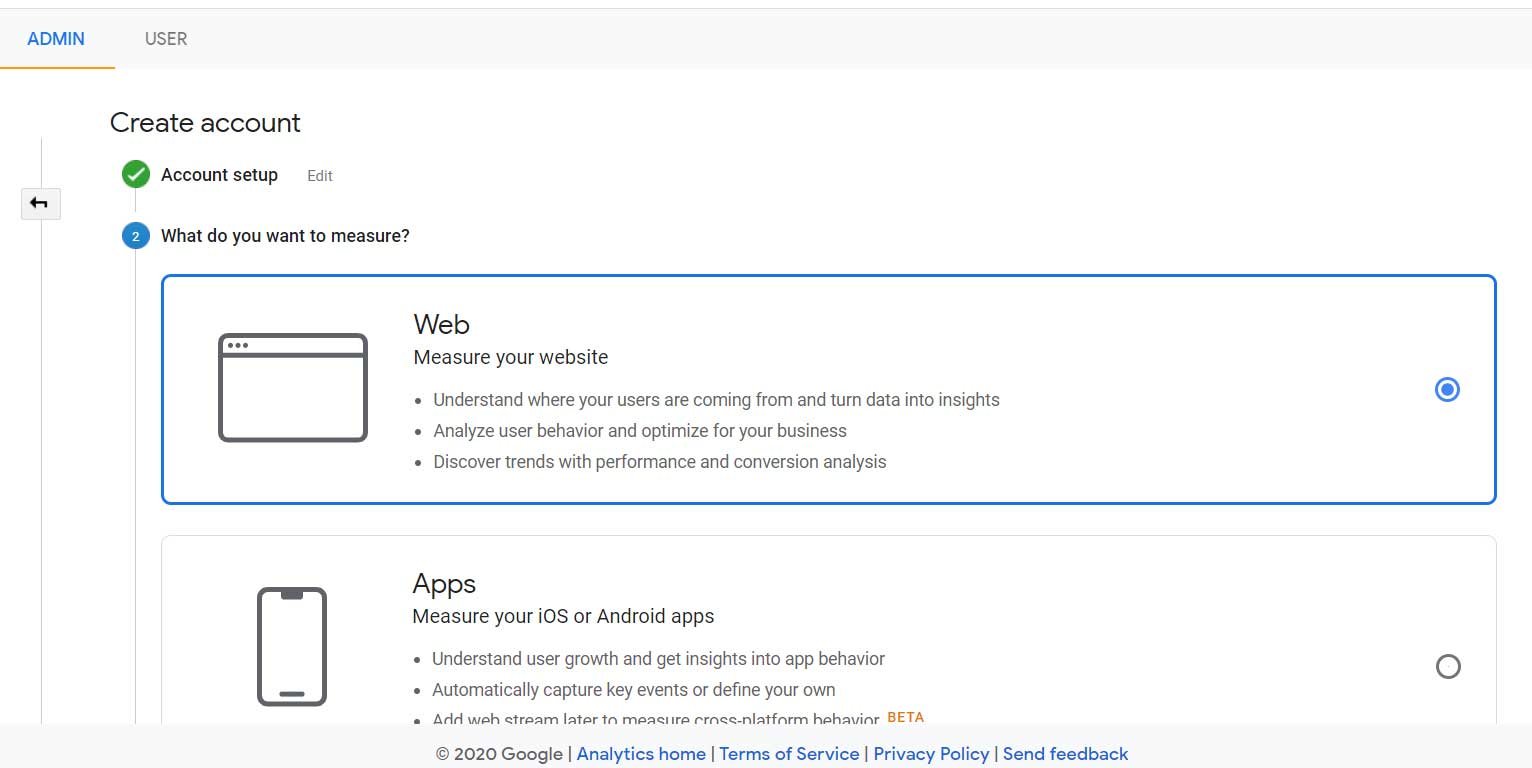
Google Analytics
Creating an account on Google Analytics is very simple. Once you created the account, there are a few simple steps I have provided below. This option is a very reliable and easy way which also provides you analytics of your website.

Verify Via the Domain
I have already discussed this method, you can check it out here: How to verify your website via the domain?
Hope so you found this article helpful. If you have any doubt or are in need of any help. Comment Below and I will revert back asap. You can also contact me on my Facebook, Instagram, or Twitter.
Some Related Topics You Might Find Useful:
- How to change the PHP version for your Hosting Server?
- How to Add Your WordPress website to Google?
- Change the Admin Username in WordPress?
- Why to install Yoast SEO for your WordPress website?
- How to Add WordPress Website to Google via Domain?
- How to Create and Add a Sitemap in WordPress website and Add to Google?